
If your website is with myheartcreative, an OKC web design, and a Dallas web design company, you may have an Elemental Editor CMS. If you’re editing or creating a page on your EE website and struggling with uploading images or documents, then look no further. This article will tell you all the steps you need to take in order to get your pictures and documents uploaded correctly.
Resizing Images
If you need to resize images, you will must to do that before uploading them to your EE site. Resizing your images helps your website look more professional. If all of your images on one of your pages are different sizes, it does not seem appealing to the person visiting your site. When resizing images, we recommend 72 resolution and no less than 500 pixels wide. Also, if you have support time, we can always resize your images for you.
Uploading Images/Documents
When uploading images or documents into your Files, click on the Files button in the top left corner of your screen.
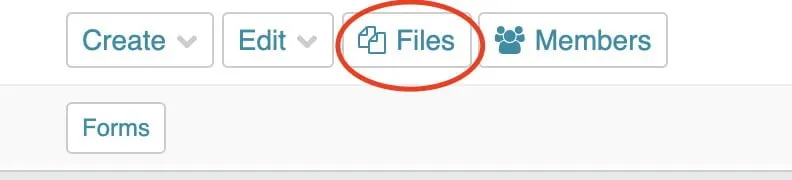
Once you have done that you will see your previous uploads as well as your Directory options.
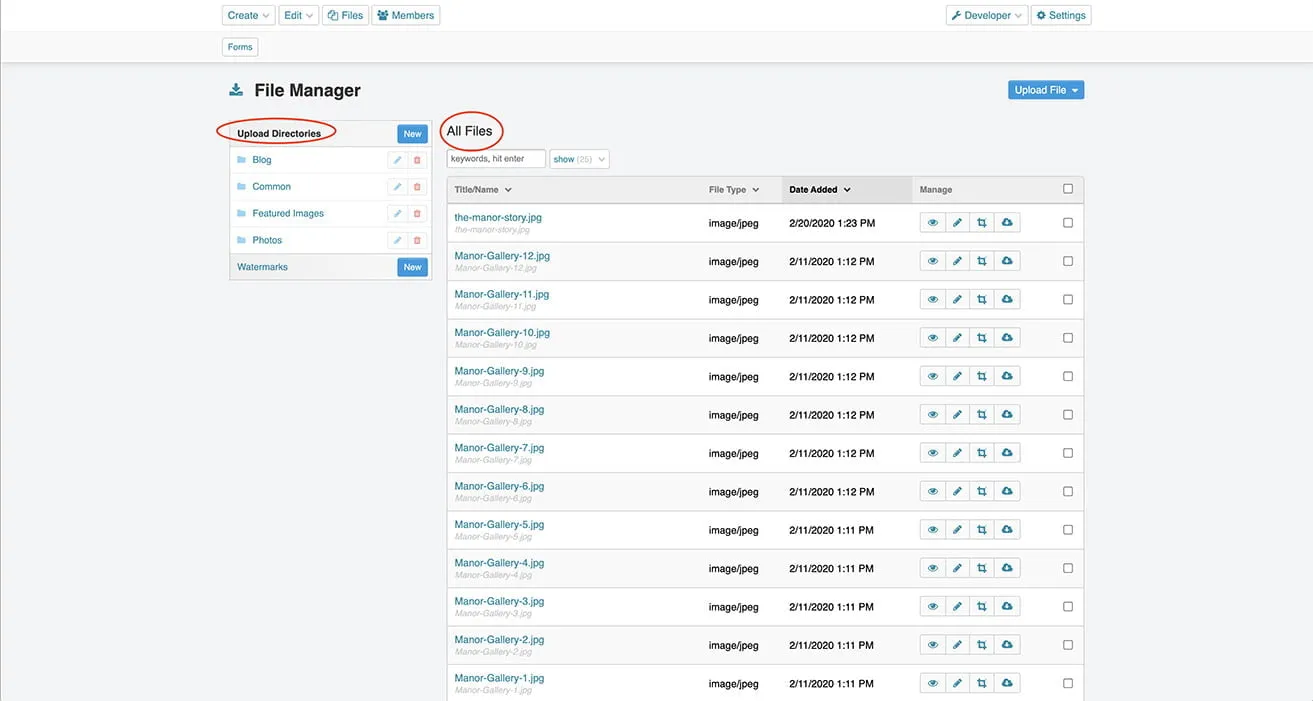
These Directories help you separate your images and keep them more organized. If you don’t need/want to keep your files separated, you can always upload them into the Common Directory.
Next, you will click on the blue Upload File button.

Once you have done that, it will have a drop down of your Directory options.
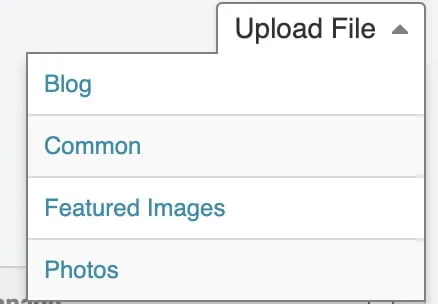
Remember, if you are uploading a .pdf or any other document, you will need to upload it to the Common Directory.
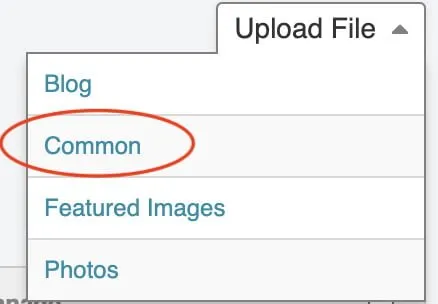
After you have chosen a folder, then it will let you select a file from your computer. You will need to upload images/documents one at a time.
If you have made it this far, then you have successfully learned how to upload images and documents using Files on your site. If you have any other questions about uploading files or website design in Oklahoma City or website design in Dallas, please contact us.